


How to Stack Bracelets
Stacking bracelets is one of those trends that never seems to vanish - it just evolves. One year it’s all about boho leather cords and beads, the next it’s delicate chains layered to perfection. But the core idea stays the same: combining multiple bracelets to create a look that feels intentional, personal, and yes - just a little bit playful. The challenge? Avoiding the dreaded “junk drawer on your wrist” effect. That’s what we’re here to fix.
Why Bracelet Stacking Works So Well
There’s something almost instinctive about layering. Think about how people pile on rings, or how fashion leans into layered clothing for depth. Bracelets follow the same principle. Stacking lets you express mood, add texture, and turn even a plain T-shirt into something that looks styled. It’s versatile, too - you can go minimalist with two sleek bangles or maximalist with a wrist full of clashing colors.
And here’s the thing: stacking is forgiving. Unlike necklaces, which can tangle, or earrings that need balance, bracelets are easier to mix without too much fuss. If you mess it up, it still often looks deliberate.
Step 1: Start with a Base
Think of your base as the foundation of the stack. Usually, this is one piece that anchors everything else. It could be a chunky cuff, a watch, or even a strand of sleek beads. Without a strong base, the stack risks looking scattered.
If you’re not sure what to choose, start with something neutral - a slim metallic bangle in gold, silver, or stainless steel works well. Once that’s in place, you’ll have a framework to build on.
Step 2: Mix Metals (Yes, You Can)
The old rule of never mixing gold and silver? Outdated. In fact, mixing metals is one of the easiest ways to make your stack interesting. Pair a warm-toned gold bracelet with a cool silver chain, then throw in rose gold or even blackened metal for contrast.
If you’re hesitant, look at different types of jewelry chains for inspiration. Chains vary not just by metal but by shape and thickness, and once you see the range, it becomes clear how mixing can add dimension without looking mismatched.
Step 3: Play with Texture
Texture is where things get fun. Smooth metal against braided leather. Beads next to polished bangles. Matte finishes alongside high-shine rhinestones. It’s the contrast that creates depth and keeps the eye moving.
A practical tip: if your stack feels flat, add one textured piece and see how it transforms the entire look. Even something small, like a rope twist or hammered finish, changes the balance dramatically.
Step 4: Balance Proportions
This is the part that separates intentional stacking from a random pile. Think about the width and size of your pieces. If you have one bold cuff, balance it with slimmer bangles or delicate chains on either side. Too many thick pieces, and suddenly it looks bulky; too many fine pieces, and it feels underwhelming.
Try the “one statement, two supporting” rule. One bold bracelet, paired with two simpler ones, usually strikes the right chord. Then build from there if you want more layers.
Step 5: Add a Pop of Color
Neutral stacks are classic, but color injects personality. A single gemstone bracelet, a bright cord, or even beads in your favorite shade can act as the spark that makes your stack stand out.
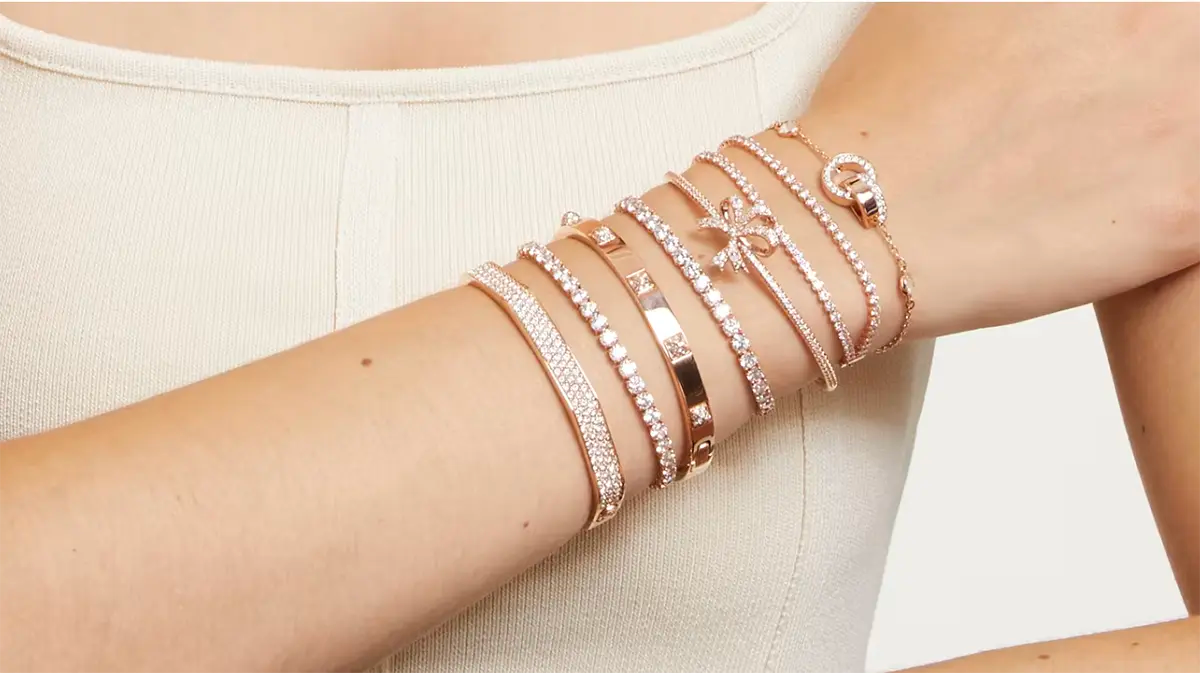
If you’re dressing for an event or night out, you might even experiment with elegant rhinestone decoration options. These add shine without tipping into over-the-top territory, especially when mixed with simpler metals.
Step 6: Keep Comfort in Mind
Style matters, but so does practicality. Too many sharp edges or oversized pieces, and you’ll find yourself fidgeting all day. Stacks should feel good to wear - light enough not to weigh down your wrist, smooth enough not to snag sleeves.
The goal is effortlessness. If your bracelets are constantly getting in the way while typing, driving, or exercising, the stack will feel like a chore. Edit ruthlessly.
Step 7: Experiment with Symmetry (or Don’t)
Some people love symmetry: evenly spaced, mirrored pieces that look balanced. Others prefer asymmetry: a few bangles stacked high on one wrist, nothing on the other. Both approaches work. What matters is consistency in your choice.
For example, if you go asymmetrical, lean into it with boldness on one wrist and minimalism on the other. That contrast often looks more polished than half-committing to both sides.
Step 8: Know When to Stop
There’s no universal limit, but there is a point where stacking goes from chic to chaotic. Five to seven pieces usually look stylish without overloading your wrist. More than that, and you risk losing the individuality of each bracelet.
The best test? Hold up your arm in the mirror. If the jewelry grabs all the attention before your outfit does, you’ve probably gone too far.
Everyday vs. Special Occasion Stacking
It’s worth noting that stacking for everyday wear isn’t the same as stacking for a party or event. Day-to-day stacks lean minimal - think three or four pieces in muted tones. For special occasions, you can dial it up with sparkle, color, and texture.
What matters is flexibility. Invest in pieces that can transition between casual and dressed-up looks. That way, you’re not building entirely separate collections.
Final Thoughts
Learning how to stack bracelets isn’t about memorizing rules. It’s about finding your rhythm - your personal mix of metal, color, and texture that feels authentic. Start simple, experiment with balance, and give yourself permission to edit as you go.
The beauty of stacking is that it’s never static. Your combination today might look completely different next week, and that’s part of the fun. As long as your bracelets feel like an extension of your style rather than an afterthought, you’re doing it right.